Showing posts with label Painting. Show all posts

Sunday, January 13, 2013

Predator Rescue, Part 03

After I completed gluing the magnets into openings to mount the turret I went ahead and glued the top panel down completely.

I did some more filing on the hull itself, mostly to neaten up the appearance of the tank overall.

The entire model was already primed a nice flat black. Since my army is painted in Blood Angels colors I figured I would stick with that scheme.

I have never been a huge fan of the all red look of the BA and I have taken pains to include a fair amount of black as well as yellow, green, and white in the army. Think of Death Company colors.

One of my Rhino's is painted in a mostly black with red as the trim color. My other Rhino is primarily red with black as the trim color. I firmly put my predator between the two and decided on a 50/50 color balance between black and red.

I use quite a few cheap acrylic paints in my arsenal and my standard undercoat prep for red uses the Americana brand in Khaki Tan.

In my opinion not only are acrylic paints inexpensive, you can make them into truly wonderful paints using water, matte medium, and flow improver to make them smoother to use. Even with the required doctoring they are still much more inexpensive than the GW pots. The base coat worked as intended and the red went on smoothly and with very few blotches.

I added some greeblies in the form of tow hooks, HK missile launcher, and smoke dischargers. Since I had completed a majority of the painting I went ahead and used decals for the first time.
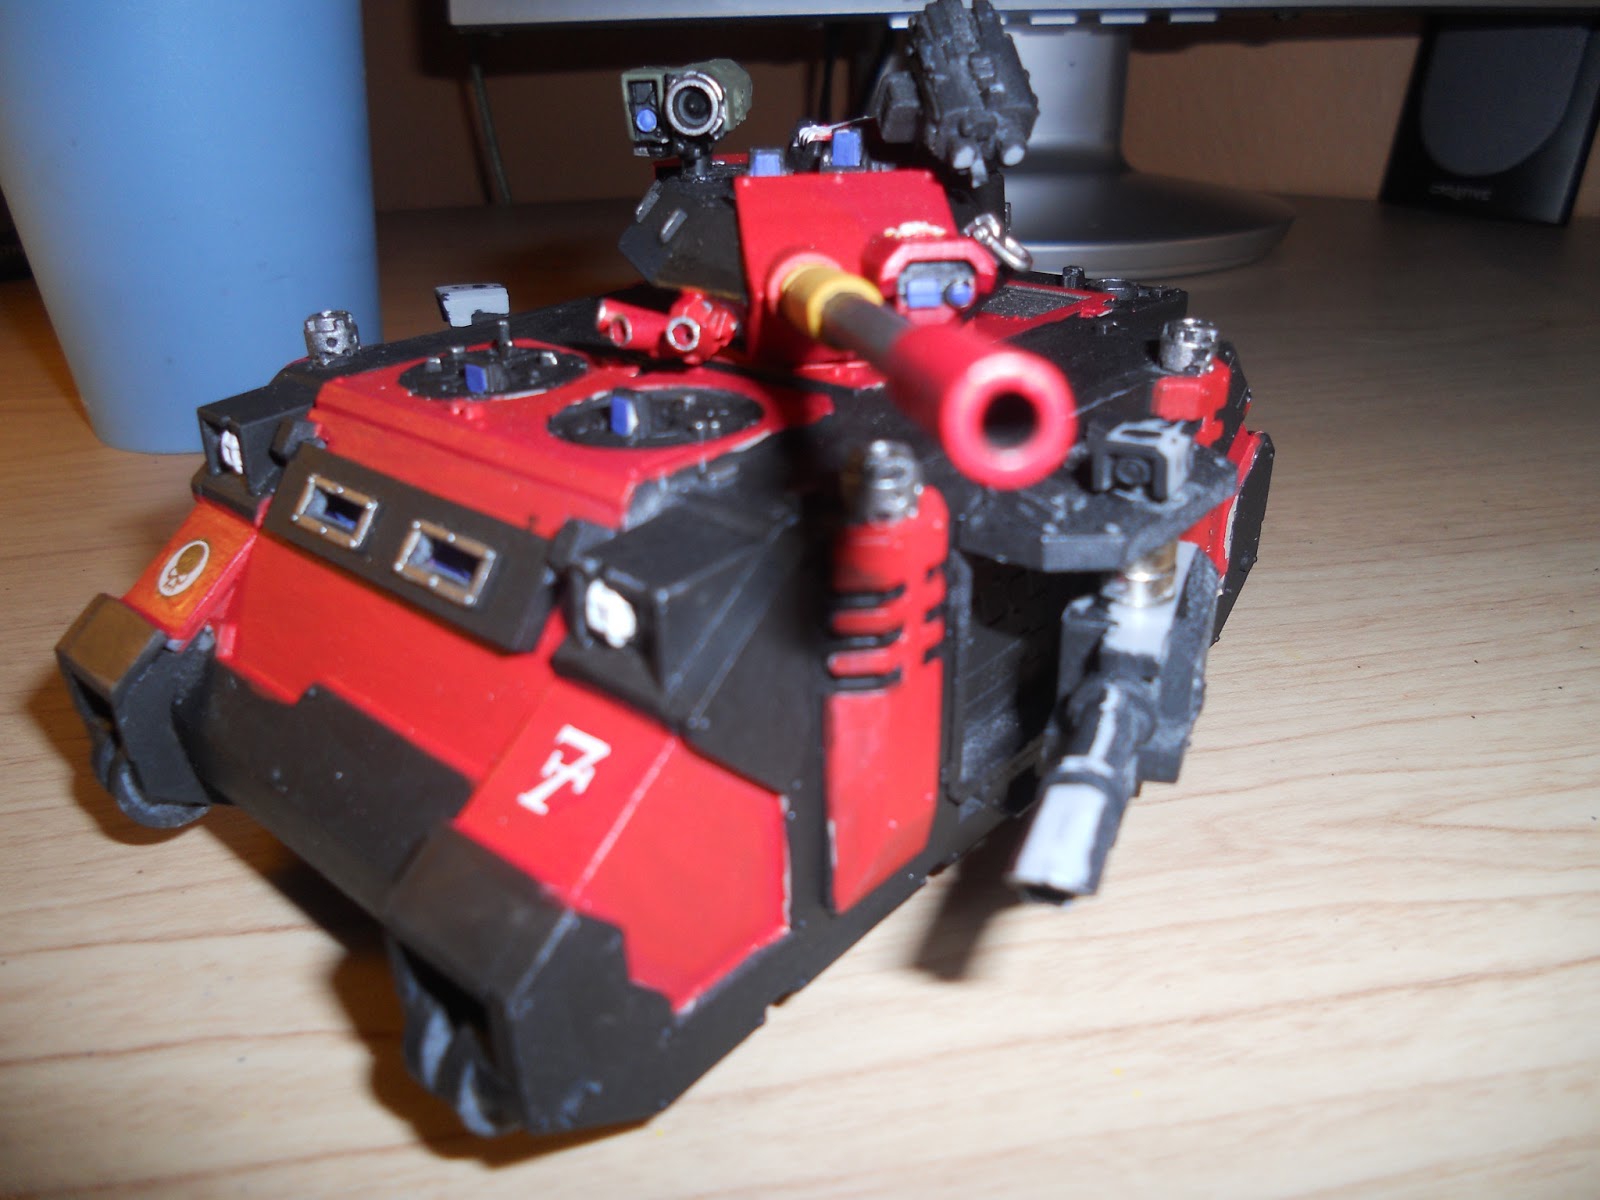
Colors blocked out and decals applied. More on the magnetized sponsons next post.
For decals I used conventional wisdom. A coat of gloss where the decal would go. Application of the decal using decal solution and once dry the application of a matte coating over the entire decal to blend/lock it into place. I am very happy with the results and the decals really seem to give the vehicle an identity that is in context to the force.

At this point I would have no issues with putting this on the table. However, I do owe it some washes, drybrushing, and weathering. I also need to discuss the work I am doing on the sponsons.

Wednesday, November 4, 2009

The Rites of Maintenance...Paintbrush Prayers

I had a couple of paintbrushes that I was going to throw out. After months of grueling service they had old dried paint in the ferrule and the heel of the brush. They could not maintain a point, etc.

However, I was loath to, because they are my favorite paintbrushes.

Because I occasionally strip and repaint the same model two or three times, I have a stash of Simple Green on hand...

On a whim, I put some in a cup and used my third hand to hold my old paintbrushes with the brush part suspended in the Simple Green.

I waited a couple of days (forgot about them is closer to the truth) before removing them. After a good rinse and a few fluffs I was surprised to see the body was forming back up, the points were as sharp as ever, and the old paint in the heel/ferrule area was completely gone.

New brushes run about $5 apiece from the local GW store. Now, that money can go to buying new models.

The Simple Green does evaporate after couple of weeks, just add some water every now and again to keep it hydrated.

What are your waiting for Marine? See to your Wargear!